
A kitchen isn’t just where meals are made – it’s where conversations happen, homework gets done, and memories are created. So, when it comes time to remodel your kitchen, you’re not just changing a room; you’re enhancing your lifestyle.
The kitchen remodelling process can seem overwhelming, but when broken into clear, actionable steps, it becomes far more manageable. This guide will walk you through every phase, helping you plan smart, stay on budget, and create a space you’ll love for years.
Step 1: Define Your Goals and Budget
Before tearing out cabinets or picking tile samples, start by outlining what you want to achieve. Are you updating for resale or building your dream kitchen?
Things to Consider:
- Style preference: Modern, farmhouse, transitional?
- Layout changes: Open concept? Add an island?
- Functionality upgrades: Better lighting, more storage?
Once your goals are set, define your budget. Be realistic and include a 10–15% buffer for unexpected expenses. Typical kitchen remodels can range from $15,000 to over $100,000, depending on scope and location.
Step 2: Evaluate and Measure Your Current Kitchen
Understanding your current space is key. Measure everything twice: walls, windows, ceiling height, and distances between key areas (sink, fridge, stove). Note issues like poor lighting, lack of storage, or traffic bottlenecks.
Document what works and what doesn’t. This will inform your decisions later on.
Step 3: Create a Detailed Remodelling Plan
Now’s the time to get specific. Sketch your new layout or work with a designer to draft plans. Consider:
- Work triangle efficiency
- Traffic flow
- Storage solutions (pull-out drawers, vertical space use)
- Appliance sizes and placement
Include timelines, order of work, and material selections. This step creates a roadmap for everything that follows.
Step 4: Hire the Right Professionals
Even if you’re a DIY enthusiast, you’ll likely need pros for electrical, plumbing, and structural work. Vet contractors thoroughly:
- Check licensing and insurance
- Ask for references
- Review previous work
- Get multiple estimates
Always sign a detailed contract outlining scope, cost, and timeline.
Step 5: Obtain Necessary Permits and Approvals
Depending on your location and remodel scope, you may need permits for:
- Electrical work
- Plumbing changes
- Structural alterations
Failing to get proper permits can lead to fines and future complications when selling the home.
Step 6: Demolition – Clearing the Space
Once permits are secured and materials are ordered, it’s time for a demo. Protect areas not being renovated and disconnect all utilities first. Depending on your plan, this may include:
- Removing cabinets, countertops
- Pulling up flooring
- Taking down walls
Be prepared for noise, dust, and some surprises (like hidden mould or plumbing issues).
Step 7: Plumbing and Electrical Upgrades
This is the backbone of your new kitchen. With the walls open, it’s the best time to:
- Reroute plumbing for new sink or dishwasher locations
- Upgrade to modern, efficient electrical systems
- Add outlets, under-cabinet lighting, and switches
Always use licensed professionals for this step.
Step 8: Flooring Installation
Your flooring sets the tone for the whole space. Popular options include:
- Hardwood: Classic and warm, but not water-resistant
- Tile: Durable and waterproof
- Luxury Vinyl Plank (LVP): Budget-friendly and stylish
Flooring should be level, properly sealed, and installed before cabinetry.
Step 9: Cabinetry and Countertops
This is where your kitchen begins to look real. Custom, semi-custom, or stock cabinets are installed first. Then, measure and install countertops.
Popular countertop materials:
- Quartz: Durable, low-maintenance
- Granite: Natural stone with unique patterns
- Laminate: Budget-friendly
Install carefully to ensure level surfaces and smooth seams.
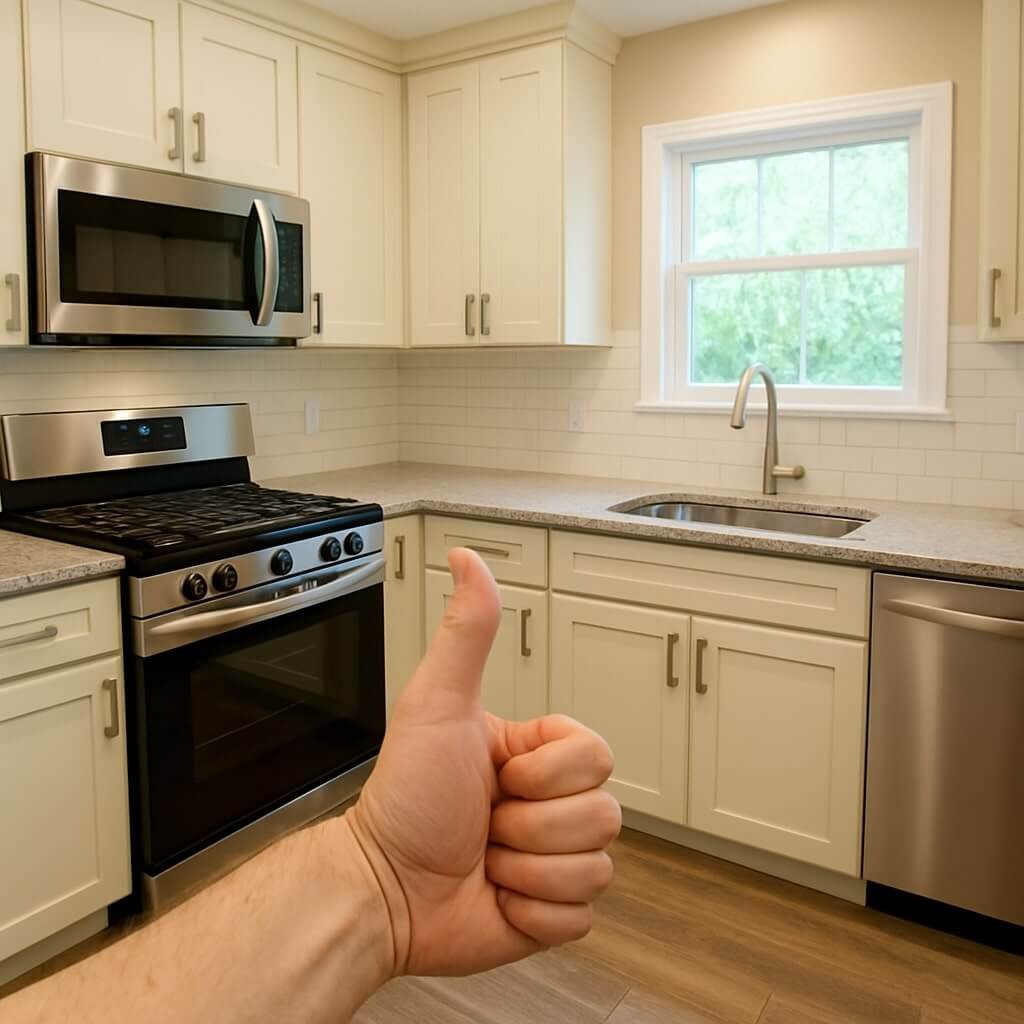
Step 10: Appliance Installation
With the structure in place, bring in your new appliances:
- Refrigerator
- Oven and stove
- Dishwasher
- Microwave and hood
Make sure everything fits properly and is hooked up safely.
Step 11: Lighting and Ventilation
Proper lighting transforms a space. Layer your lighting:
- Ambient (overhead fixtures)
- Task (under-cabinet lighting)
- Accent (pendants or recessed)
Good ventilation prevents odours and moisture buildup. A quality range hood is a must.
Step 12: Final Touches – Backsplash and Painting
Time to polish the look. Add a backsplash that complements your counters and cabinets. Then, paint walls and trim with durable, washable finishes. Choose colours that reflect your style while staying timeless.
Step 13: Final Inspection and Walkthrough
Before calling it done, inspect:
- Plumbing and electrical connections
- Cabinet alignment and door function
- Appliance operation
- Paint and surface finishes
Create a punch list of any outstanding items for your contractor to resolve.
Step 14: Cleaning and Move-In Preparation
Deep-clean the entire area, including:
- Inside cabinets
- Floors and counters
- Appliances
Then, move in slowly and organise with intention. Use drawer dividers, shelf liners, and storage bins to maximise efficiency.
Step 15: Maintenance Tips for a Long-Lasting Kitchen
Keep your kitchen looking new with regular maintenance:
- Clean spills quickly
- Use cutting boards and trivets
- Deep-clean appliances monthly
- Re-seal stone surfaces annually
- Inspect plumbing for leaks
Proper care ensures your investment lasts for decades.
Frequently Asked Questions (FAQs)
1. How long does a full kitchen remodel take?
2. Do I need a permit for kitchen remodelling?
3. How much should I budget for a kitchen remodel?
4. Can I remodel my kitchen myself?
5. What’s the best order to remodel a kitchen?
6. Is it worth it to remodel a kitchen before selling?
Conclusion
Remodelling your kitchen is a journey – and like any journey, it’s smoother with a clear map. With this step-by-step guide, you’re well-equipped to handle every phase of your renovation. From goal-setting to final inspection, each stage builds on the last to create a kitchen that’s beautiful, functional, and tailored to your life.

