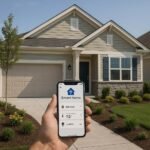
Setting up your Vera Smart Home involves several key steps to guarantee everything functions smoothly. First, you’ll need to connect the Vera Hub to your router and power it up. After that, downloading the Vera app is essential for managing your devices. It’s vital to familiarize yourself with the hub’s features and check for firmware updates. From there, selecting compatible devices and connecting them effectively will enhance your smart home experience considerably. What’s next?
Key Takeaways
- Connect the Vera Hub to your router using an Ethernet cable and power it on until fully booted.
- Download the Vera app, create an account, or log in to access your smart home settings.
- Ensure your firmware is updated for optimal performance before connecting any devices.
- Pair compatible devices by following the manufacturer’s instructions and verify their signal strength.
- Customize scenes and automations to enhance convenience and streamline your daily tasks.
Understanding Vera Smart Home Basics
When you’re diving into the world of Vera Smart Home, it’s essential to grasp the fundamentals that make this system unique.
Vera combines smart home components like sensors, cameras, and smart locks to enhance your home’s security and convenience. By automating tasks, you’ll experience smart home benefits, such as energy savings and improved safety.
You can control these devices through a user-friendly app, simplifying your daily routines. Understanding how these components interact allows you to maximize functionality and customize your environment.
Familiarizing yourself with these basics sets the stage for an effective and enjoyable smart home experience.
Choosing Compatible Devices
To guarantee your Vera Smart Home operates seamlessly, selecting compatible devices is essential. Focus on device specifications and brand compatibility to ascertain peak performance. Always check the compatibility list on Vera’s website, and consider the following key factors:
| Device Type | Compatibility Brand |
|---|---|
| Smart Bulbs | Philips Hue |
| Thermostats | Nest |
| Door Locks | Schlage |
Setting Up Your Vera Hub
Before diving into the setup process, make sure you have your Vera Hub and a reliable internet connection ready.
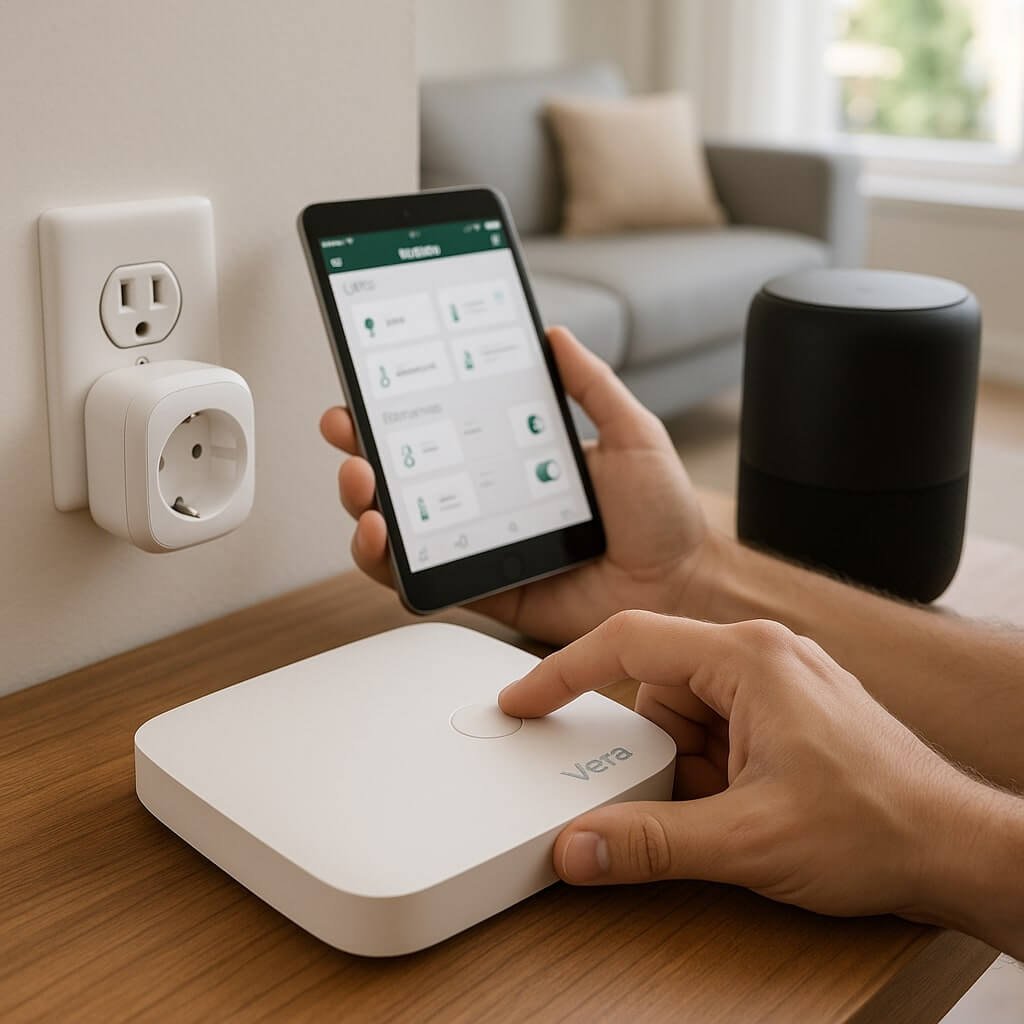
Begin the Vera hub setup by connecting the hub to your router using an Ethernet cable. Power it on and allow it to boot up fully; the LED light will indicate its status.
Next, download the Vera app on your smartphone. Create an account or log in to manage your hub remotely.
Familiarize yourself with Vera hub features, such as scheduling and automation, to maximize your smart home experience.
Confirm that the firmware is updated for peak performance before connecting devices.
Connecting Your Devices
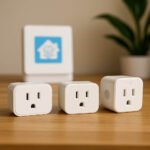
As you prepare to connect your devices to the Vera Hub, make sure they’re compatible with the system for seamless integration. Begin the device pairing process by following the manufacturer’s instructions. Verify your devices are within range for ideal signal strength.
| Device Type | Pairing Method |
|---|---|
| Smart Bulbs | Zigbee or Z-Wave |
| Smart Plugs | Wi-Fi or Z-Wave |
| Sensors | Zigbee |
After successful pairing, check for any signal strength issues. If needed, reposition devices to improve connectivity and enhance your smart home experience.
Configuring Your Network Settings
Once your devices are paired with the Vera Hub, you’ll need to configure your network settings for ideal performance.
Start by accessing the settings menu in the Vera app. Here, you can set your IP configuration—either static or dynamic—depending on your network setup.
Access the settings menu in the Vera app to configure your IP settings—choose between static or dynamic based on your network.
For enhanced network security, guarantee your Wi-Fi is secured with a strong password and consider enabling WPA3 encryption if supported.
Regularly update your network firmware to protect against vulnerabilities.
Finally, test your network connection to confirm that all devices are communicating effectively with the Vera Hub.
This setup guarantees a reliable and secure smart home experience.
Creating Scenes and Automations
To enhance your smart home experience, creating scenes and automations with your Vera Hub is essential.
You can customize scenes to fit your lifestyle and automate tasks for convenience. Follow these steps to get started:
- Scene Customization: Set the mood by adjusting lighting, temperature, and devices with a single command.
- Automation Triggers: Use conditions like time of day or sensor activation to initiate actions automatically.
- Testing: Always test your scenes and automations to verify they work as intended.
Integrating Voice Control
Integrating voice control into your Vera Smart Home system not only enhances convenience but also allows for seamless interaction with your devices.
To get started, verify your system supports voice assistant integration, such as Amazon Alexa or Google Assistant. Next, configure your smart speakers for compatibility; this typically involves linking your Vera account within the voice assistant app.
Once connected, you can issue commands or create routines to control lights, locks, and other smart devices hands-free.
Regularly check for updates to maintain compatibility and functionality, verifying your voice control experience remains smooth and efficient.
Enhancing Security Features
Anyone looking to bolster their home security will find that enhancing the security features of their Vera Smart Home system is essential.
Start by implementing the following:
- Security camera integration: Connect compatible cameras to monitor your property in real-time.
- Motion sensor alerts: Set up sensors to notify you instantly when unexpected movement is detected.
- Automated lighting: Program lights to mimic occupancy, deterring potential intruders.
Troubleshooting Common Issues
When you’re setting up your Vera Smart Home, you might run into network connectivity problems or device compatibility issues.
It’s essential to guarantee your network is stable and that all devices are supported by Vera.
Let’s explore how to quickly identify and resolve these common hurdles.
Network Connectivity Problems
In many cases, users encounter network connectivity issues that can disrupt their Vera Smart Home experience.
To tackle these problems effectively, consider the following network interference solutions:
- Check Wi-Fi signal strength: Make certain your Vera hub is within range of your router for peak performance.
- Reduce interference: Keep the hub away from electronic devices that may cause signal disruption, such as microwaves or cordless phones.
- Optimize network settings: Adjust your router settings to prioritize the Vera devices for better connectivity.
Device Compatibility Issues
While integrating various devices into your Vera Smart Home, you might face compatibility issues that can hinder your system’s functionality.
To address device compatibility, start by checking the specifications of each smart device against Vera’s compatibility list. Verify that your devices support common protocols like Z-Wave or Zigbee, as these are essential for seamless smart device integration.
If a device isn’t responding, try resetting it or updating its firmware. Additionally, consult user forums for troubleshooting tips specific to your devices.
Expanding Your Smart Home Ecosystem
How can you effortlessly expand your smart home ecosystem?
By staying updated with smart home trends and guaranteeing device interoperability, you’ll enhance your setup seamlessly.
Stay informed about smart home innovations and ensure device compatibility to effortlessly elevate your smart home experience.
Here are three steps to reflect on:
- Research Compatible Devices: Look for devices that easily integrate with your Vera system.
- Utilize Automation: Set up routines that connect multiple devices, enhancing functionality and convenience.
- Monitor Trends: Keep an eye on emerging technologies and products to guarantee your ecosystem remains cutting-edge.
Conclusion
To summarize, setting up your Vera Smart Home can transform your living space into a fully integrated environment. By following the outlined steps, you’ll guarantee seamless connectivity and peak performance. As you expand your ecosystem, remember to regularly update your devices and explore new integrations to enhance functionality. If you encounter issues, refer back to the troubleshooting section for quick fixes. Embrace the convenience of smart living, and enjoy the benefits of your customized home automation experience.