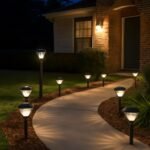
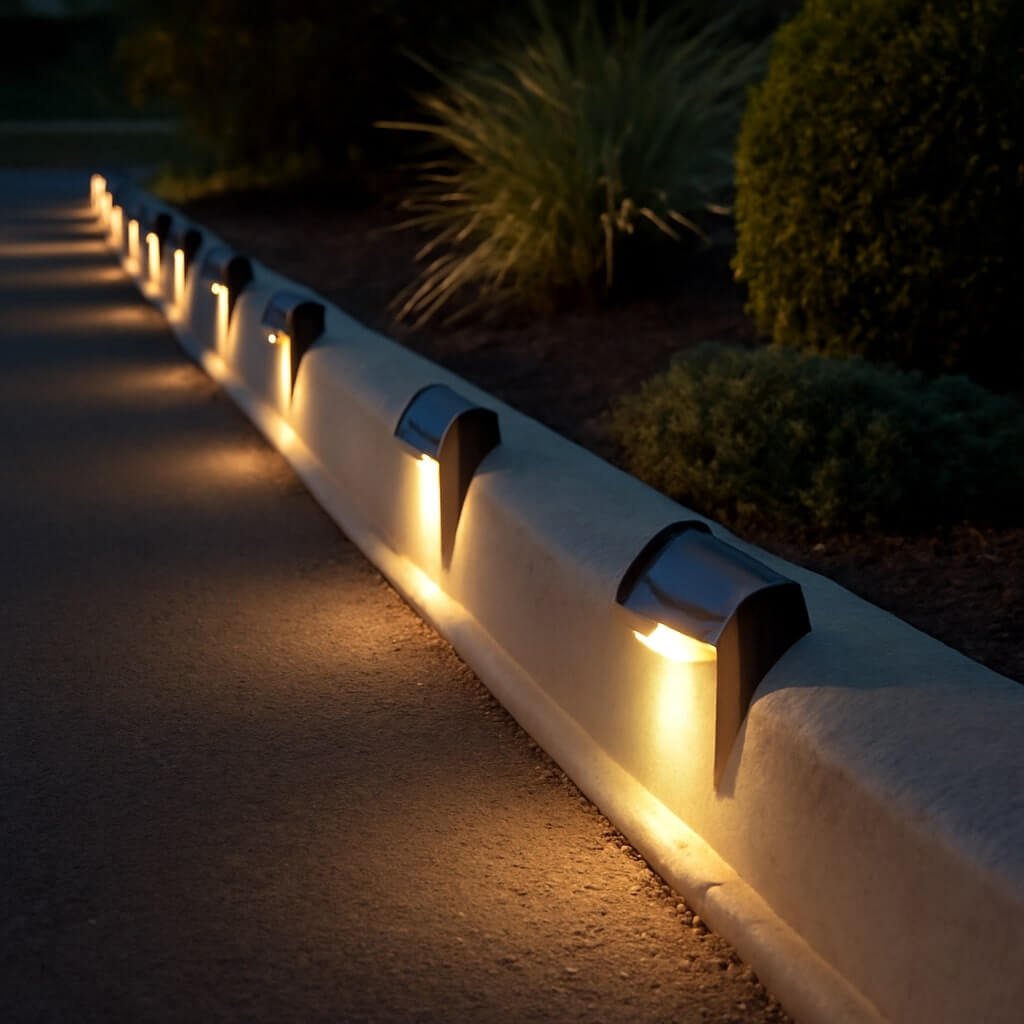
Installing curb lighting yourself is a fantastic way to enhance your home’s curb appeal while improving safety and functionality. Curb lighting refers to the outdoor illumination placed along the edges of driveways, walkways, or garden borders. This lighting not only highlights your landscaping but also provides a welcoming ambiance during evening hours.
Whether you want to make your home stand out in the neighborhood or simply ensure that guests can navigate your driveway safely, curb lighting is an effective solution. With advances in lighting technology, particularly LED and solar-powered options, installing curb lighting yourself has never been more accessible or affordable.
In this guide, we’ll walk you through everything you need to know — from choosing the right type of curb lighting to the exact tools and steps for installation. Let’s light up your home with confidence!
Benefits of Installing Curb Lighting Yourself
Taking on curb lighting installation yourself comes with numerous benefits. First, it saves you significant money compared to hiring a professional electrician. Labor costs for outdoor lighting installations can quickly add up, but with a bit of patience and the right instructions, you can handle it on your own.
DIY installation also allows for total customization. You can decide exactly where to place lights, how many to install, and what style fits your home’s aesthetic. This control means your curb lighting is truly tailored to your preferences.
Another key benefit is the personal satisfaction that comes from completing a home improvement project independently. The pride of seeing your finished curb lighting shining bright every evening is unmatched.
Lastly, DIY installation gives you better control over maintenance and future upgrades since you’ll understand how everything is set up.
Types of Curb Lighting Available
Choosing the right type of curb lighting is crucial for both aesthetics and function. Here are the most common types you’ll encounter:
- LED Curb Lights: These are energy-efficient, long-lasting, and come in a variety of colours and intensities. LEDs are perfect if you want bright, consistent illumination with low electricity costs.
- Solar-Powered Lights: Ideal for easy installation without wiring, solar lights charge during the day and illuminate at night. They’re eco-friendly but may have limited brightness depending on sunlight exposure.
- Low-Voltage Lighting: Running on 12 volts, these systems are safe and easy to install. They provide moderate brightness and allow for flexible design.
- Hardwired Lighting: Requires direct connection to your home’s electrical system. This option offers powerful and reliable illumination but usually needs professional installation unless you’re comfortable with electrical work.
- Smart Lighting: Integrated with Wi-Fi or Bluetooth, smart curb lights can be controlled via apps for dynamic effects and automation.
Selecting the best type depends on your budget, installation skills, and desired lighting effect.
Tools and Materials Needed for DIY Curb Lighting
Before starting, it’s essential to gather all necessary tools and materials. This preparation will make your project smoother and safer. Here’s a comprehensive list:
| Tools | Materials |
|---|---|
| Shovel or trenching tool | Curb lighting fixtures |
| Wire stripper/cutter | Electrical wire (low voltage recommended) |
| Screwdriver set | Wire connectors |
| Voltage tester | Transformer (if low voltage) |
| Measuring tape | Timer or photocell switch |
| Drill and bits | Landscape stakes or mounting brackets |
| Electrical tape | Solar panels and batteries (if solar) |
| Gloves and safety glasses | Conduit pipes (optional) |
Having these items ready will help you avoid delays during installation.
Planning Your Curb Lighting Installation
Good planning sets the foundation for a successful curb lighting project. Start by measuring the area where you want to install lights. Mark specific spots for each fixture using spray paint or flags.
Think about how much light you want and where it will have the most impact. For example, placing lights evenly along a driveway edge creates uniform visibility, while highlighting garden features adds charm.
Consider safety too—make sure wiring won’t be in the way of foot traffic or lawn maintenance equipment. If you’re installing hardwired lights, check local electrical codes to ensure compliance.
Finally, decide on the power source. If you choose solar lights, position the panels in sunny spots. For wired lights, plan the cable path carefully to minimize exposure and avoid damage.
Step-by-Step Installation Process
Step 1: Preparing the Installation Area
Clear debris, grass, or soil from where you’ll place each light. Level the ground if needed so the fixtures sit evenly. Mark exact locations for wiring trenches if applicable.
Step 2: Laying Out Wiring or Solar Components
If using wired lights, dig shallow trenches about 6-8 inches deep for your cables. Lay wires carefully without sharp bends. For solar setups, position panels with optimal sun exposure and secure them firmly.
Step 3: Installing the Lights
Attach fixtures to stakes or mounts. Place each light into the ground or mounting points per your design. Make sure they face the desired direction to illuminate walkways or features.
Step 4: Connecting Power Sources
Connect wires to the transformer and power supply. Use wire connectors and electrical tape for secure, weatherproof joints. For solar lights, connect the panels to the batteries as instructed.
Step 5: Testing and Troubleshooting
Turn on the power and check that all lights are illuminated. Troubleshoot any non-working fixtures by checking connections or replacing bulbs.
Safety Tips for DIY Electrical Work
Always prioritize safety when working with electricity. Use insulated tools and wear gloves and protective eyewear. Never work on live wires; switch off the breaker before handling electrical components. Follow local codes, and if uncertain about wiring, consult a professional.
Maintenance Tips for Your Curb Lighting
Keep your curb lights shining bright by cleaning fixtures regularly to remove dirt or debris. Replace bulbs promptly when they burn out. For solar lights, clean panels often and replace batteries every few years to maintain performance.
Enhancing Your Landscape with Curb Lighting
Use curb lighting to accentuate your landscaping creatively. Combine different light heights and colors for a layered effect. Integrate timers or smart controls for automated lighting schedules. Adding path lights alongside curb lights enhances safety and beauty.
Cost Analysis: DIY vs. Professional Installation
DIY curb lighting typically costs 40-60% less than professional installation. While you’ll spend more time and effort, the savings and customization make it worthwhile. Professional work may be faster and come with warranties, but it can be pricey.
Common Mistakes to Avoid When Installing Curb Lighting
Avoid overloading circuits, placing lights too far apart, or burying wires too shallow. Poor placement can cause glare or dark spots. Ensure connections are secure and weatherproof to prevent failures.
FAQs About Installing Curb Lighting
How long does it take to install curb lighting yourself?
Can I install curb lighting without any electrical experience?
Are LED lights better than solar for curb lighting?
How deep should I bury the wiring for curb lights?
Can curb lighting increase my home’s value?
How do I maintain solar curb lights?
Conclusion: Illuminate Your Home with Confidence
Installing curb lighting yourself is an empowering project that enhances both the beauty and safety of your home. With careful planning, the right tools, and attention to safety, you can create stunning outdoor lighting that lasts for years. Light up your home and enjoy the warm glow of accomplishment every night!