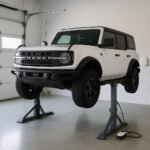
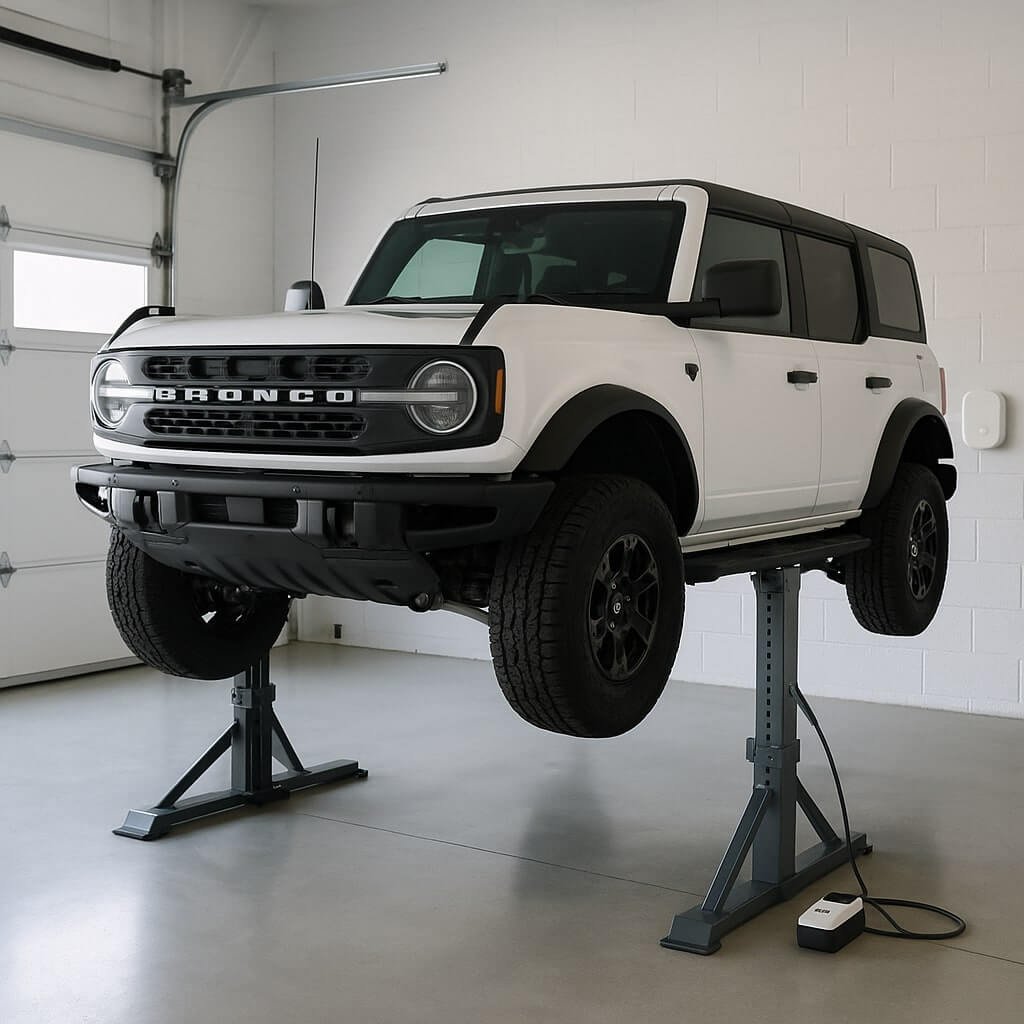
When installing your Smarter Home Bronco Lift, it’s vital to assess your space carefully for a precise fit and ideal layout. Gathering the right tools, like a power drill and level, will streamline the process. Safety should be your top priority, so make certain to wear protective gear. By following the step-by-step manual, you can guarantee a successful installation. But the real test comes after installation—how will you confirm everything operates smoothly?
Key Takeaways
- Accurately measure your space to ensure the Bronco Lift fits and allows for proper accessibility and clearance.
- Gather essential tools, including a power drill, level, and stud finder, to facilitate the installation process.
- Carefully read the instruction manual and assemble the lift according to the specified steps for a secure setup.
- Prioritize safety by wearing protective gear and ensuring the lift is placed on a stable, obstacle-free surface.
- Conduct thorough testing and make necessary adjustments to ensure optimal performance and reliability of the Bronco Lift.
Assessing Your Space for Installation
Before you begin the installation of your Smarter Home Bronco Lift, have you assessed the space where it will be placed?
Accurate space measurement is vital; make sure you’ve got the right dimensions to accommodate the lift comfortably.
Consider the layout planning as well; think about accessibility, clearance, and any potential obstacles that may hinder operation.
Mark the area where the lift will sit, keeping in mind the surrounding environment.
This initial assessment will save you time and frustration during the installation process, guaranteeing your lift functions efficiently in the designated space.
Proper planning now leads to smoother operation later.
Gathering the Necessary Tools and Materials
Having assessed your space for the Smarter Home Bronco Lift, it’s time to gather the necessary tools and materials for installation.
Proper tool selection and a detailed material checklist are essential for a smooth setup. Make sure you have everything ready before you begin.
- Power drill with appropriate bits
- Level for accurate alignment
- Stud finder to locate mounting points
- Safety goggles for protection
Step-by-Step Installation Process
Once you’ve gathered your tools and materials, you can begin the installation process for the Smarter Home Bronco Lift. Start by carefully reading the instruction manual, as it outlines essential installation techniques.
Assemble the lift according to the specified steps, making certain all components fit securely. It’s critical to double-check your work to avoid common mistakes, like misaligning brackets or overlooking screws.
Once assembled, test the lift’s functionality before finalizing the installation. Finally, secure all connections and verify that everything operates smoothly.
After assembly, ensure to test the lift’s functionality and secure connections for smooth operation.
Following these steps will guarantee a successful installation, enhancing your home’s functionality and convenience.
Safety Precautions to Consider
While you’ve successfully assembled and tested your Smarter Home Bronco Lift, guaranteeing safety during installation and operation is equally important.
Adhering to safety guidelines can notably enhance accident prevention. Keep these precautions in mind:
- Always wear appropriate safety gear, including gloves and goggles.
- Make sure the lift is on a stable surface to avoid tipping.
- Follow the manufacturer’s instructions for weight limits and load distribution.
- Keep the installation area clear of obstacles and distractions.
Testing and Final Adjustments
Before you start using your Smarter Home Bronco Lift, it’s essential to conduct thorough testing and make any necessary final adjustments.
Begin by employing effective calibration techniques to ensure your lift operates smoothly and efficiently. Check the lift’s height, speed, and stability, making adjustments based on your observations.
Gather user feedback to identify any issues and improve performance. This input is invaluable, helping you fine-tune settings for ideal operation.
Once you’ve completed your tests and adjustments, run the lift multiple times to confirm reliability. Proper testing guarantees safety and enhances your overall experience with the Smarter Home Bronco Lift.
Conclusion
In summary, successfully installing your Smarter Home Bronco Lift hinges on careful planning and execution. By evaluating your space, gathering the right tools, and following the step-by-step instructions, you guarantee a seamless installation. Don’t forget to prioritize safety throughout the process and conduct thorough testing to confirm everything operates smoothly. With these tips, you’ll enjoy the reliability and accessibility your Bronco Lift brings to your home.