Concrete epoxy application has become a popular method for enhancing the durability and aesthetic appeal of concrete surfaces. Whether you’re working on a residential garage floor, a commercial workspace, or an industrial area, epoxy coatings offer a robust solution that combines strength with style. In this guide, you’ll find a detailed, step-by-step process to apply concrete epoxy successfully, ensuring long-lasting results with a professional finish.
Concrete epoxy is a resin-based coating that bonds with concrete to create a seamless, high-performance surface. Thanks to its resistance to chemicals, abrasions, and moisture, it’s widely used in environments where floors need to withstand heavy traffic and wear. By following this ultimate 15-step process, you can transform dull, cracked concrete into a sleek, durable surface that’s easy to maintain.
Let’s dive into everything you need to know about concrete epoxy application, from surface preparation to curing and maintenance.
Understanding Concrete Epoxy: What You Need to Know
Before you jump into applying epoxy, it’s essential to understand what concrete epoxy actually is and why it works so well. Concrete epoxy consists of two parts: a resin and a hardener. When mixed, these components create a chemical reaction that forms a tough, plastic-like surface that adheres tightly to the concrete.
Types of Epoxy
- Water-Based Epoxy: Easier to apply and clean up, with lower odour. Suitable for light to moderate use.
- Solvent-Based Epoxy: Offers better penetration and adhesion but involves stronger fumes and requires proper ventilation.
- 100% Solids Epoxy: The most durable option with zero volatile organic compounds (VOCs). Perfect for heavy-duty industrial floors.
Each epoxy type has unique properties that affect drying time, durability, and appearance. Choosing the right one depends on your project’s needs and environment.
Why Choose Concrete Epoxy?
Epoxy coatings offer numerous benefits that make them a preferred choice over other floor treatments:
- Durability: Epoxy creates a hard, resilient surface resistant to scratches, impacts, and heavy loads.
- Chemical Resistance: Ideal for garages and industrial areas exposed to oils, solvents, and cleaning agents.
- Aesthetics: Epoxy can be tinted or combined with decorative flakes to create custom looks.
- Ease of Maintenance: The seamless surface is easy to clean and resists staining.
- Moisture Barrier: Helps prevent damage from water infiltration, prolonging the life of the concrete.
With these advantages, concrete epoxy is a cost-effective investment for protecting and beautifying floors.
Preparing Your Concrete Surface
Proper preparation is the foundation of a successful epoxy application. Neglecting this step can lead to adhesion failure, bubbling, or peeling.
Cleaning Techniques for Concrete
Begin by thoroughly cleaning the concrete surface. Remove all dirt, grease, oils, and other contaminants using:
- Degreasers or trisodium phosphate (TSP) cleaners
- Pressure washing or scrubbing with stiff brushes
- Vacuuming loose debris
Allow the surface to dry completely before proceeding.
Repairing Cracks and Holes
Inspect the floor for cracks, holes, or uneven areas. Repair these defects with an appropriate epoxy filler or concrete patching compound. Smooth the repair areas to ensure the epoxy will lay flat and even.
Etching for Better Adhesion
Etching opens the pores of the concrete, allowing the epoxy to bond better. You can etch the surface using:
- Muriatic acid diluted solution (handle with care)
- Commercial etching products
After etching, rinse the floor thoroughly and let it dry.
Choosing the Right Epoxy Product
Selecting the right epoxy product is crucial for achieving the desired performance and finish.
Types of Epoxy Coatings
- Self-Levelling Epoxy: Ideal for smooth, flat surfaces.
- Non-Slip Epoxy: Contains aggregates for added traction.
- Anti-Static Epoxy: Used in environments sensitive to static electricity.
Colour and Finish Options
Epoxy coatings come in various colours and finishes such as gloss, satin, or matte. You can also add decorative flakes or metallic pigments for a customised look.
Tools and Safety Equipment
Having the right tools and safety gear will make your job easier and safer. Essential items include:
- Mixing buckets and a drill mixer
- Rollers with appropriate nap length
- Brushes for edges and corners
- Protective gloves, goggles, and respirators
- Knee pads and work boots
Always ensure adequate ventilation when working with solvent-based products.
Step 1: Mixing the Epoxy
Mixing epoxy correctly is key to activating the chemical reaction that hardens the coating.
- Follow the manufacturer’s instructions precisely for the resin-to-hardener ratio.
- Use a drill mixer to combine the parts thoroughly for about 3-5 minutes.
- Avoid whipping air into the mixture to reduce bubbles.
Step 2: Applying the Primer
Priming the concrete improves adhesion and seals the surface.
- Use a roller to apply a thin, even coat of epoxy primer.
- Pay attention to edges and corners.
- Let the primer cure as recommended, usually 12-24 hours.
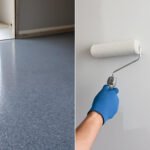
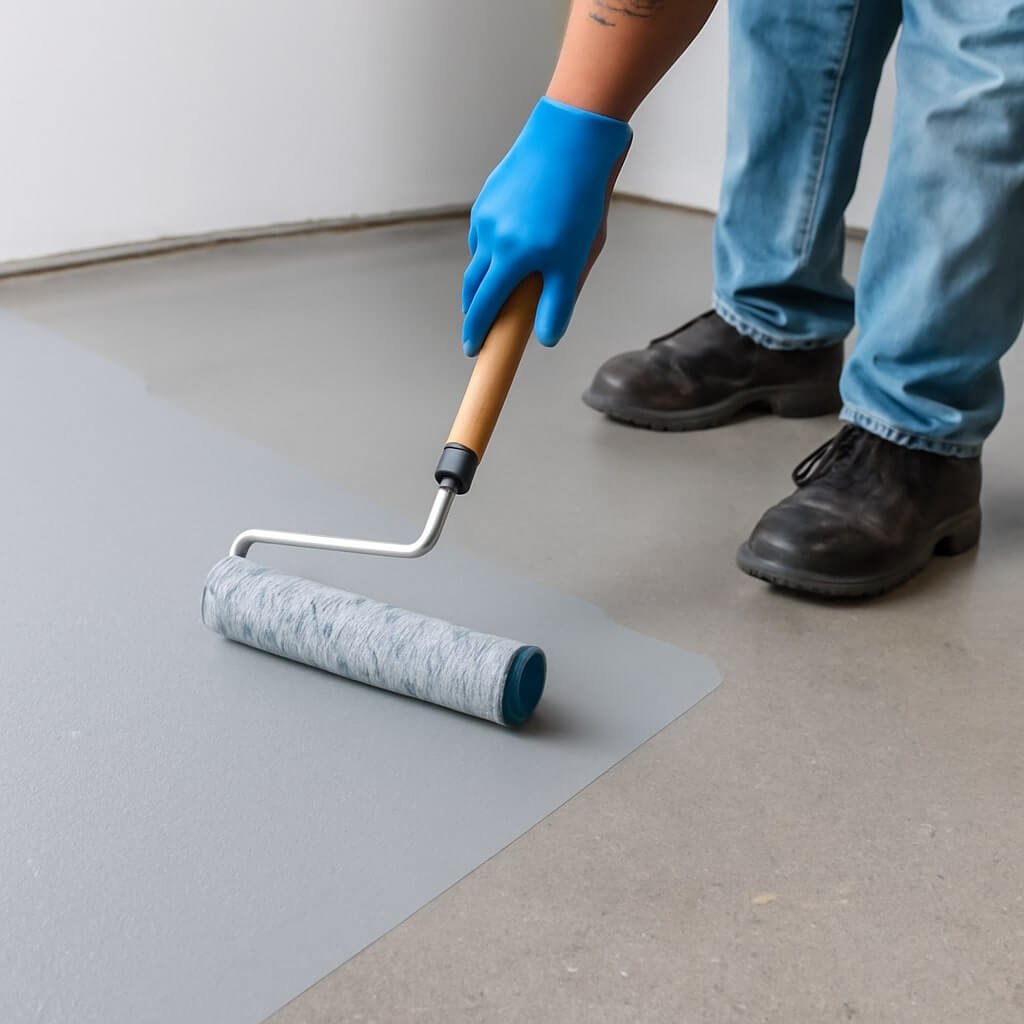
Step 3: Applying the First Epoxy Coat
Apply the first epoxy coat carefully:
- Pour small sections of epoxy and spread evenly with a roller.
- Use a brush to cut in along walls and corners.
- Work quickly but methodically to avoid lap marks.
Step 4: Adding Decorative Elements (Optional)
If desired, broadcast decorative flakes or chips onto the wet epoxy for texture and design.
- Sprinkle flakes evenly over the surface.
- Let dry before applying additional coats.
Step 5: Applying Additional Coats
Multiple epoxy coats increase durability and depth of finish.
- Apply subsequent coats after the previous one has cured.
- Use thinner layers for better control.
- Ensure full coverage and consistent appearance.
Step 6: Applying the Topcoat
A clear topcoat adds extra protection and enhances shine.
- Choose a polyurethane or polyaspartic topcoat.
- Apply evenly using a roller.
- Allow sufficient curing time to achieve maximum hardness.
Step 7: Curing and Maintenance
Curing is critical to ensure epoxy reaches full strength.
- Avoid foot or vehicle traffic for at least 48-72 hours.
- Full chemical resistance develops over 7 days.
- Clean with mild detergents and avoid harsh chemicals.
Frequently Asked Questions (FAQs)
1. How long does concrete epoxy take to dry?
2. Can I apply epoxy on painted concrete?
3. What is the lifespan of epoxy flooring?
4. Is epoxy flooring slippery when wet?
5. Can I apply epoxy myself or hire a professional?
6. How do I maintain my epoxy floor?
Conclusion: Final Tips for a Successful Epoxy Project
Applying concrete epoxy can seem daunting, but with patience and attention to detail, you can achieve professional results. Always prioritise surface preparation, follow the manufacturer’s instructions, and allow ample curing time. Whether you tackle the project yourself or hire experts, this guide gives you the confidence to enhance your floors with durable, beautiful epoxy coatings.