Maintaining the integrity of curbs is essential for both safety and aesthetics in any neighbourhood or cityscape. This step-by-step guide to repairing cracked curbs like a pro will walk you through every critical phase of the process, from understanding why curbs crack to the tools you’ll need, how to repair them properly, and tips for preventing future damage. Whether you’re a homeowner, property manager, or contractor, this comprehensive guide ensures you have the know-how to tackle curb repairs confidently and efficiently.
Understanding the Importance of Curb Repair
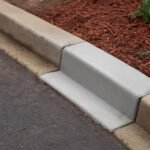
Curbs do more than just frame sidewalks—they control drainage, prevent erosion, and contribute to the overall infrastructure’s longevity. Cracked or damaged curbs can lead to water pooling, increased erosion, and even safety hazards for pedestrians and vehicles. Ignoring curb damage can escalate repair costs and affect neighbourhood curb appeal.
Keeping your curbs in good condition isn’t just about looks—it’s about safety, property value, and environmental management. That’s why repairing cracked curbs promptly is crucial.
Common Causes of Cracked Curbs
To repair cracked curbs effectively, you need to understand what causes these cracks in the first place. Knowing the root causes helps in selecting the right repair approach and materials.
Weather and Environmental Effects
Freeze-thaw cycles are a major culprit. Water seeps into small cracks and freezes, expanding and causing the concrete to crack further. Heat can also cause expansion and contraction, leading to fractures over time.
Traffic and Mechanical Damage
Heavy vehicles, especially trucks and machinery, can exert pressure that causes curbs to chip or crack. The impact from accidents or improper parking can also damage curbs.
Poor Initial Installation
Sometimes, curbs crack because they weren’t installed properly—improper concrete mix, insufficient curing time, or poor compaction can weaken the structure, making it more susceptible to damage.
Tools and Materials Needed for Curb Repair
Before you get started, gather all the necessary tools and materials. Having the right equipment ensures a smooth repair process and professional results.
Concrete Mix Types
For curb repairs, you can use:
- Pre-mixed concrete patch: Quick and convenient for small repairs.
- Hydraulic cement: Good for stopping leaks and bonding to old concrete.
- Standard concrete mix: Best for larger repairs requiring strength and durability.
Choosing the right mix depends on the damage severity and environmental exposure.
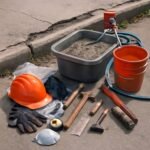
Tools for Preparation and Application
You’ll need:
- A chisel and hammer for removing loose concrete
- A wire brush or a broom for cleaning
- Concrete mixer or mixing tub
- Trowel and float for smoothing
- Protective gear: gloves, goggles, and a mask
Step 1: Assessing the Damage
Begin by closely inspecting the curb. Look for the size and depth of cracks, any loose or crumbling concrete, and areas with underlying soil erosion. Document the extent of the damage by measuring cracks and taking photos. This assessment will guide your repair strategy.
Step 2: Preparing the Work Area
Clear the area around the curb. Remove dirt, debris, and any vegetation growing near or in the cracks. Use a broom or wire brush to clean loose particles from the damaged surfaces. A clean surface ensures better adhesion of the repair material.
Step 3: Removing Loose and Damaged Concrete
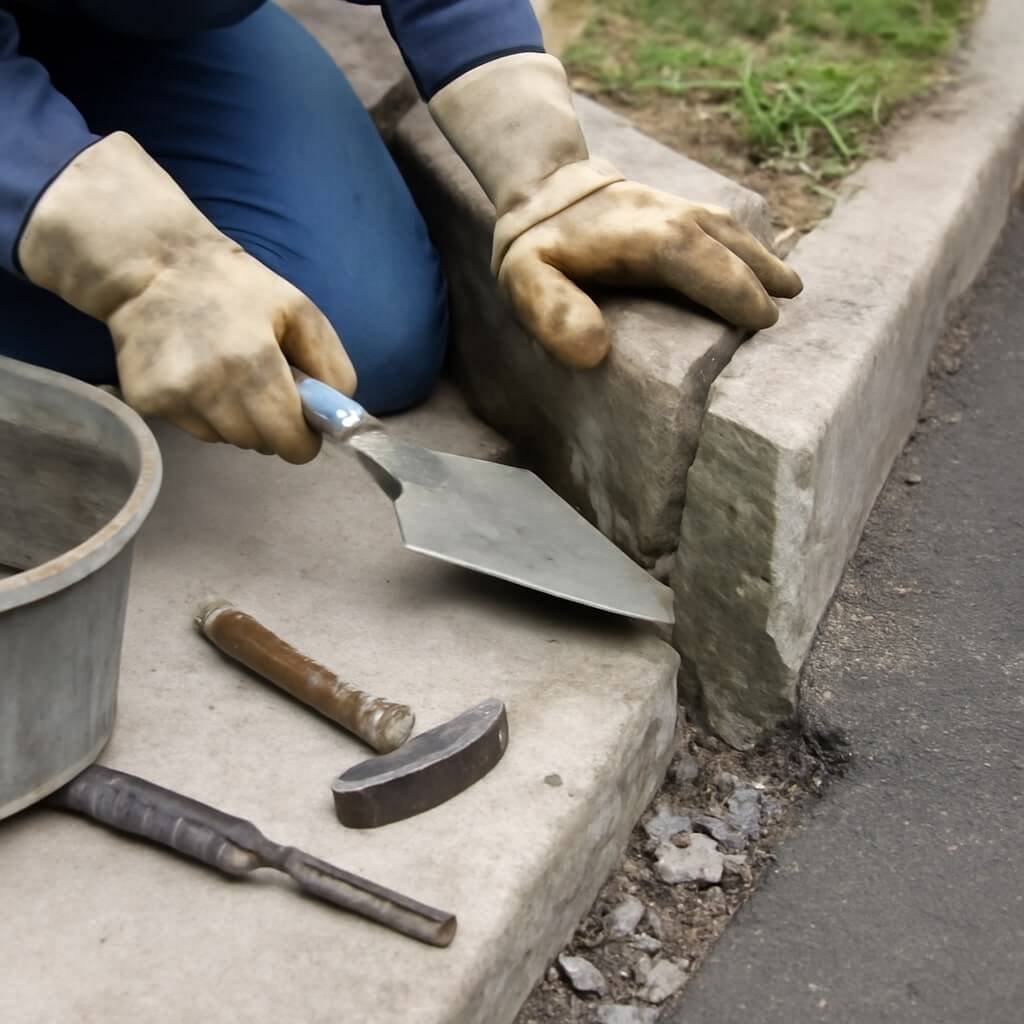
Using a hammer and chisel, carefully remove any crumbling or weak concrete around the cracks. Be cautious not to damage the sound concrete adjacent to the repair area. Remove all loose materials until you reach a solid base.
Step 4: Mixing and Applying the Repair Material
Follow the instructions on your chosen concrete mix carefully. Mix the material to a thick but workable consistency. Using a trowel, apply the mixture into the cracks and damaged areas, pressing firmly to fill all voids. Layer the material if needed for deep cracks, allowing each layer to set slightly before applying the next.
Step 5: Smoothing and Finishing the Surface
After filling the cracks, use a float to smooth the surface and blend the repair with the surrounding curb. Aim for a consistent texture and shape that matches the original curb contour. Proper finishing gives a professional look and reduces water pooling spots.
Step 6: Curing and Protecting the Repaired Curb
Curing is essential for the durability of your repair. Keep the repaired area moist by misting it with water for several days, or cover it with plastic sheeting to retain moisture. Avoid heavy traffic or mechanical stress on the curb during curing. Proper curing enhances strength and reduces future cracking.
Preventive Maintenance Tips for Longevity
To keep your curbs in tip-top shape:
- Seal cracks early with a quality sealant to prevent water infiltration.
- Regularly clean curbs to remove debris and prevent freeze-thaw damage.
- Avoid parking heavy vehicles directly on curbs.
- Inspect the curbs seasonally for new damage.
- Maintain proper drainage to reduce water exposure.
When to Call a Professional for Curb Repair
While minor repairs can be DIY, certain situations require expert help:
- Extensive or deep cracking covering large areas
- Structural damage affecting curb stability
- Frequent recurring damage despite repairs
- Issues related to drainage and foundation problems
Professionals bring specialised equipment and expertise to ensure long-lasting repairs.
Frequently Asked Questions (FAQs)
How long does a curb repair last?
Can I repair curb cracks myself?
What is the cost of professional curb repair?
How quickly can I use the curb after it has been repaired?
Are there eco-friendly repair options?
How to prevent the curbs from cracking again?
Conclusion: Mastering Curb Repairs Like a Pro
Repairing cracked curbs is a practical skill that saves money and preserves property value. By understanding the causes, preparing thoroughly, and following the right steps, anyone can restore the curbs to their original strength and appearance. Remember, timely repair and maintenance are key to avoiding costly replacements down the road. Now, equipped with these pro tips, you’re ready to tackle curb repair like a true expert!